
Shipping is an immensely crucial option that we offer our clients. It’s been our competitive advantage and it may be the decisive part of a client’s decision to purchase. We have already configured many things, but there are more steps ahead. At the moment, we will be focusing on the settings in the WooCommerce Shipping tab, where you can go by choosing:
WooCommerce → Settings → Shipping.
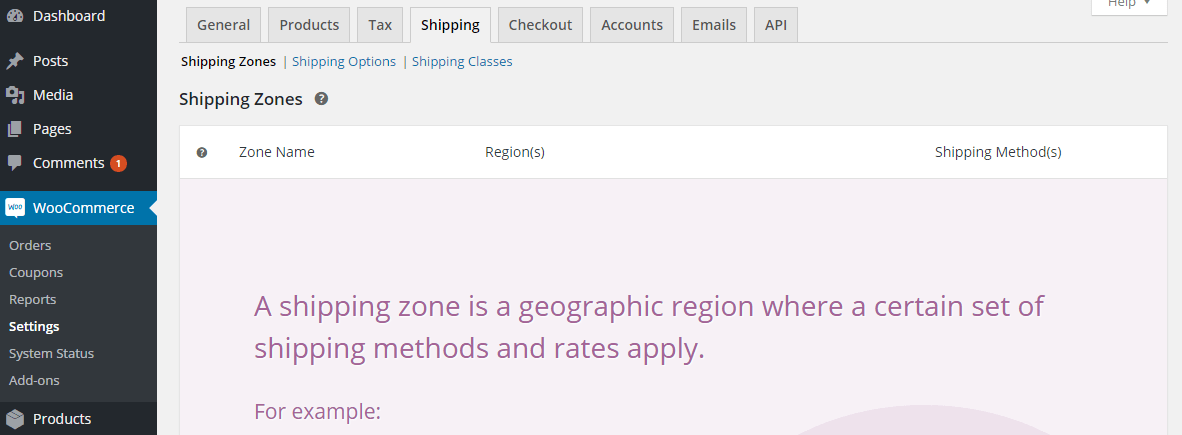
WooCommerce Shipping Zones
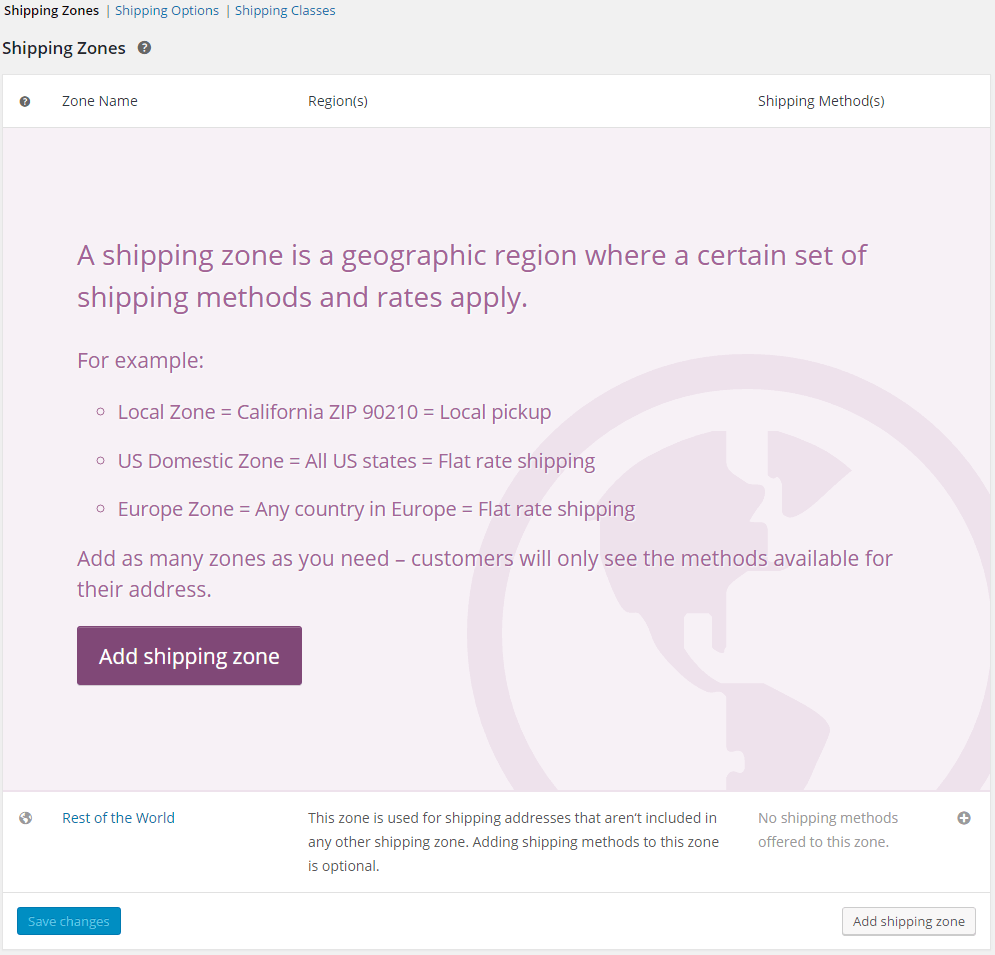
The very first section is the heart of WooCommerce shipping. Here you will be able to configure all shipping options. To begin with, however, you need to add the first zone. What is a shipping zone? According to the description in the settings, it is a geographic region, e.g. Europe, but it can also mean one country, e.g. Poland.
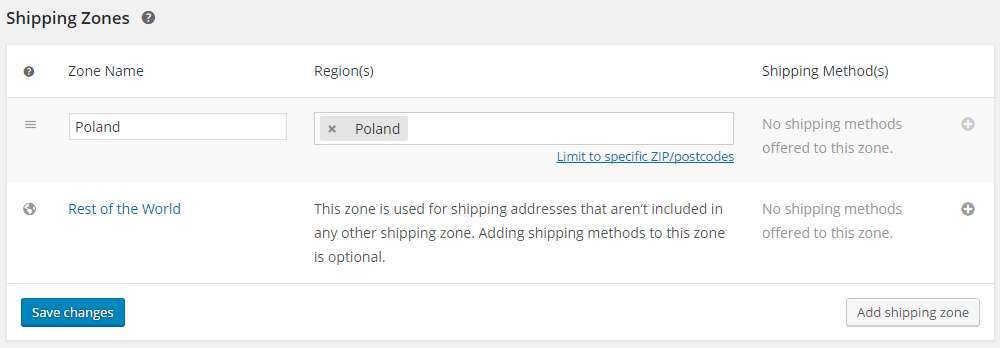
Add shipping zone – click to add the first zone, then name it and select the regions within the zone, e.g. Poland. You can also limit the region to specific postal codes (click the link below the region selection), which may prove useful when you want to offer local delivery or pickup. Remember to save the changes when you’re done.
Using quick links (hover the cursor over the name of the zone) you can edit a zone, remove a zone, or browse through the shipping methods added to a zone.
You can also sort the zones, but remember that the client will be given the first shipping zone matching the delivery address. If you configure a couple of zones with overlapping regions, set their order.
WooCommerce Shipping Methods
Creating a shipping zone is just the beginning. Then, you’ll be able to add and configure shipping options. Click on the plus icon in the column Shipping Method(s) to add one of the available methods.
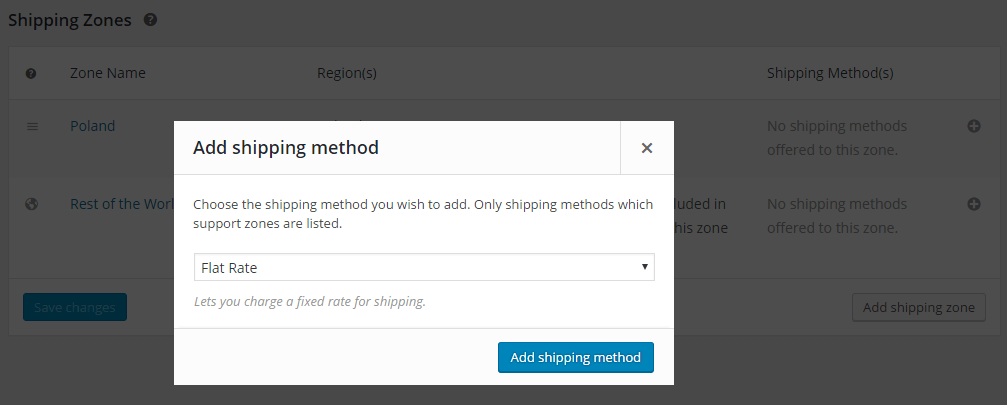
Out-of-the-box, there are 3 shipping methods available in WooCommerce: Flat rate, Free shipping and Local pickup.
You are able to add every method multiple times, which makes it possible to offer shipping methods quite freely. Unfortunately, this functionality is rather restricted, because the client will see all the created methods in the cart, and the contents of the cart will influence only the visible shipping prices.
To manage the added shipping methods, click on the name of the zone chosen.
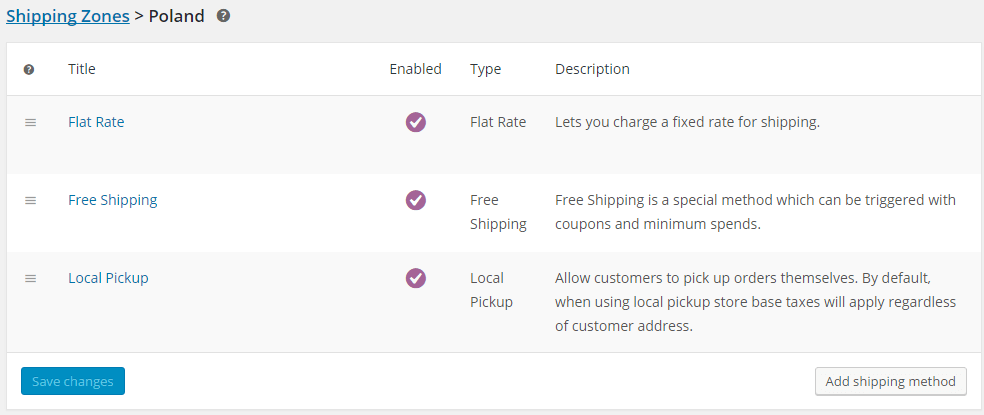
Similarly to the zones, the shipping methods can be sorted, which is important when you want to set the order in which the client sees them.
The settings of the method and its removal are available via quick links or just by clicking the name of the method.
Flat rate
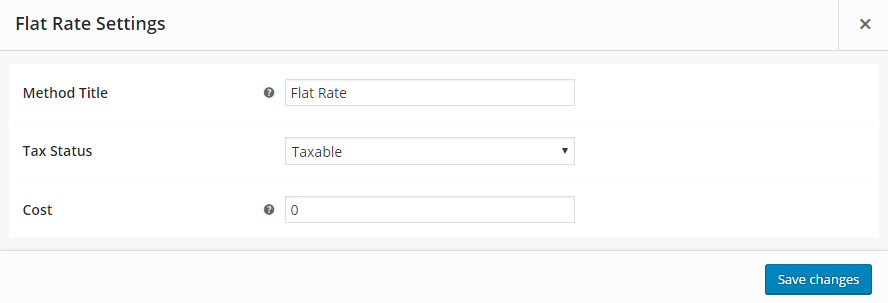
Method Title – decide which payment method the user will see.
Tax status – decide whether the shipping method is taxable or not.
Cost – enter the cost of shipping for the entire order.
Additional cost – in Cost, you may also add the cost for the number of products in the cart. Here are the available options:
- [qty] – the number of items in the cart,
- [fee] – additional cost with two parameters:
- percent – the percentage of the entire order,
- min_fee – the minimum additional cost, useful when using percentage,
- max_fee – the maximum additional cost, useful when using percentage.
Examples:
- 10 + ( 1 * [qty] ) – the shipping will cost 10 USD plus 1 USD for each item in the cart,
- 20 + [fee percent=”10” min_fee=”4” max_fee=”10”] – the shipping will cost 20 USD plus 10% of the order, but not less than 4 USD and not more than 10 USD.
Shipping Class
If you have configured your shipping classes, you will see additional fields in Flat rate settings.
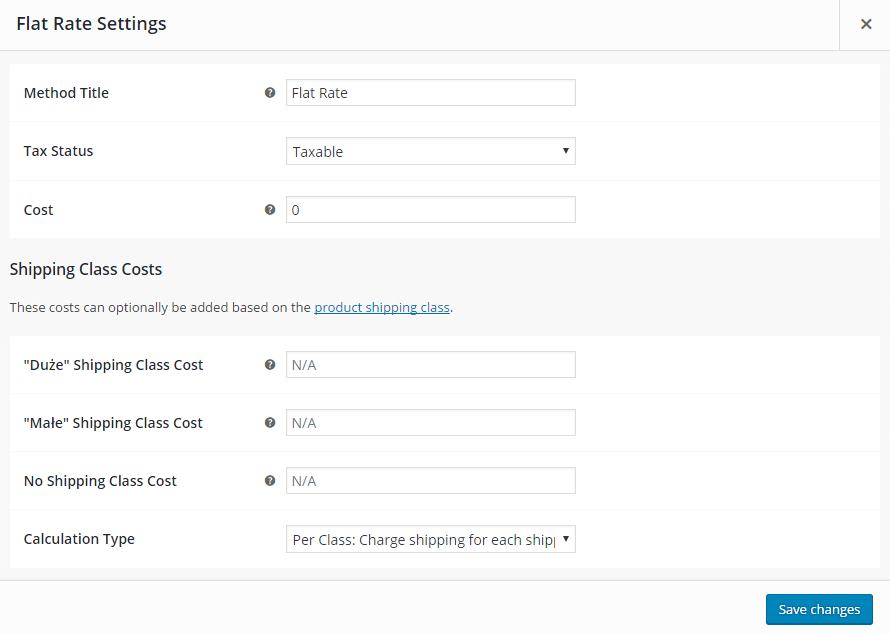
Shipping Class Cost – there will be a separate field with shipping cost for each class. The order is done according to the order in Shipping Classes tab. Additional cost may be set for classes.
No Shipping Class Cost – applicable when using Per Class calculator (below).
Calculation Type – when it comes to calculating shipping cost for shipping classes, you can choose one out of two options:
- Per Class – the shipping cost will be the sum of costs for each shipping class.
- Per Order – out of all the items in the cart, the most expensive shipping class will be used.
Free Shipping
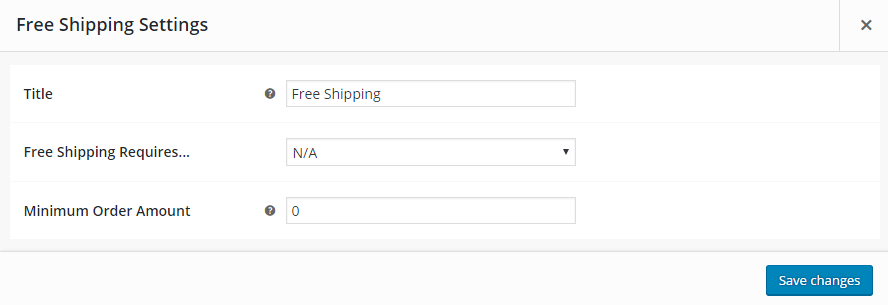
As the name suggests, this shipping method is used to set the cart total required to make the shipping free. You can choose one of the following options:
- N/A – if you want the shipping to be free of charge for all the clients.
- A valid free shipping coupon – create a coupon that entitles clients to make use of the free shipping. Coupons are available in WooCommerce menu → Coupons.
- A minimum order amount – enter the amount of money spent entitling to the free shipping.
- A minimum order amount or a coupon.
- A minimum order amount and a coupon.
Please note that coupons will also be used when the minimum order for free shipping has been set.
Local Pickup
Configuring the local pickup is not different from setting the flat rate. Simply set the title of the method. The shipping will probably be free of charge, so you can skip the tax status and the cost.
Table Rate Shipping
Many stores sell products of different sizes and weights. Therefore, Flat Rate Shipping is just not good enough for them. They need a solution for advanced shipping cost calculations. There comes Table Rate Shipping method. It is an easy way in which a store can set rules to calculate advanced shipping cost.
Rules can be based on:
- weight
- totals
- item and cart line item
- shipping classes etc.
Let’s take a look on an example. The conditions are following:
- if all items from the order weight from 1 lbs to 5 lbs, then add $10 to the shipping cost,
- if items from shipping class XYZ appear in the cart, then subtract $3 from the shipping cost,
- if there are more than 5 items in the order, then add $8 to the shipping cost.
Such conditions will be shown written in Table Rate like this:
| Rule based on | Conditions | Shipping class? | Cost to add |
|---|---|---|---|
| weight | 1-5 lbs | no, every product | $10 |
| items | any item | yes, XYZ | -$3 |
| items | 5 or more items | no, every product | $8 |
WooCommerce Shipping Options
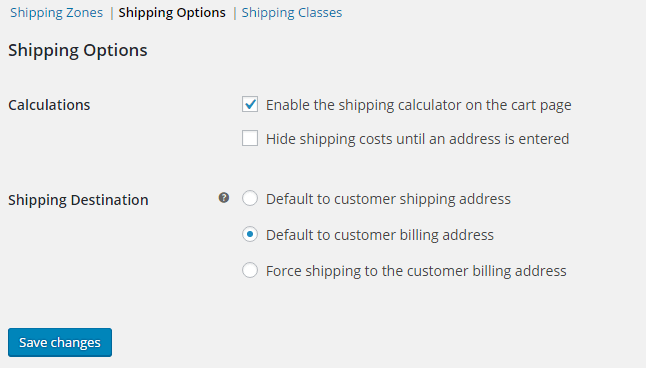
Here you can set the general options regarding the shipping.
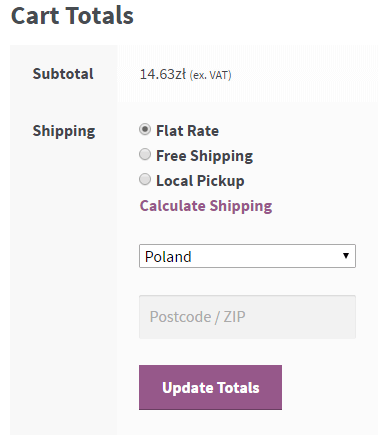
Enable the shipping calculator on the cart page – check this option if you want the client to be able to calculate the shipping cost depending on the shipping zone.
Hide shipping costs until an address is entered – check if you want the shipping cost to be visible only upon the summary of the order.
Shipping Destination – decide which address is the default shipping address.
WooCommerce Shipping Classes
Shipping Classes is a very important tool when you sell products of different sizes.
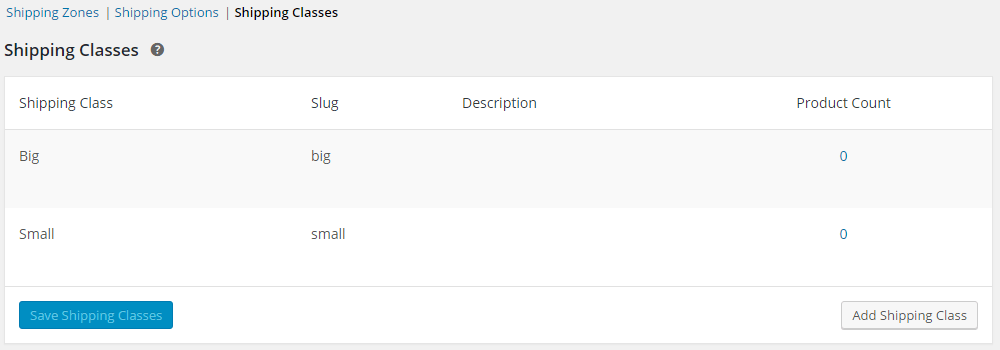
Click Add shipping class and fill out Shipping Class Name and Description for your reference. Slug is a unique identification; it will be automatically filled out if you leave this field empty.
Editing and deleting shipping classes is possible when you hover the cursor over the name of the class.
You have created shipping classes. What’s next? Configuring the shipping costs for shipping classes has been discussed when describing how to configure the Flat rate. Below you’ll find information on assigning classes to products.
Assigning shipping classes to products
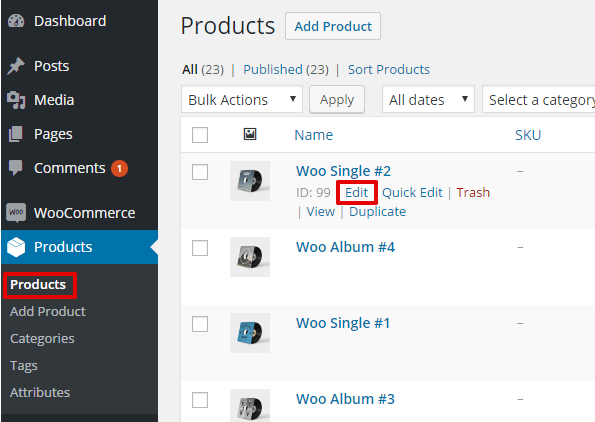
To assign a shipping class that you’ve created to a product, go to menu Products → Edit a select product → Product Data → Shipping.
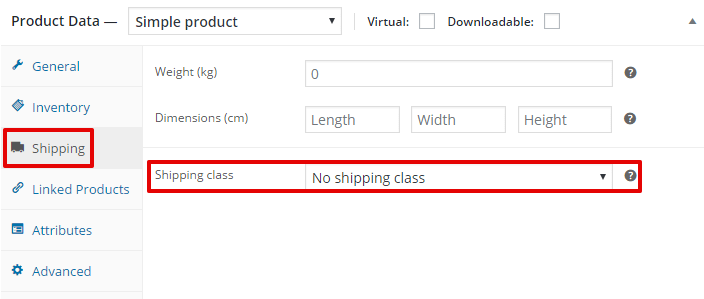
All you need to do is select the shipping class you’ve created and update the product.
If there are variations of the product, you can assign separate shipping classes for each product. Go to Variations in Product Data tab.
Assigning shipping classes to products in bulk
You can also assign the selected shipping class to many products at once.
Go to menu Products and select a couple of products, then from the Bulk Actions list select Edit and click Apply.
Select Shipping Class from the list.
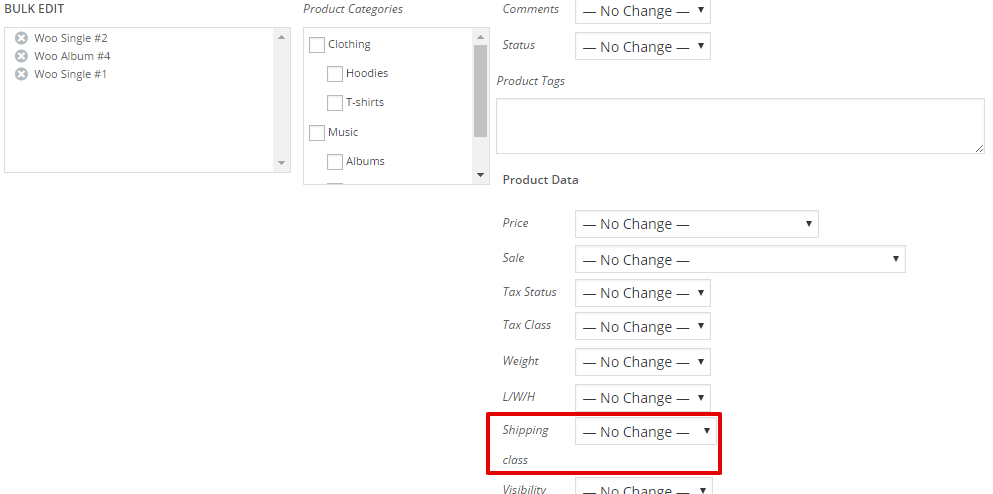
Finally, click Update and it’s all done!
Conditional Shipping Payments
Let’s say you’d like the customers who’ve chosen Free shipping to get Cash and Bank transfer payment methods only. However, the customers who’ve chosen a courier should be able to pay using Bank transfer, Cash, as well as online transfers. That’s Conditional Shipping Payments.
Unfortunately, standard WooCommerce does not support such a feature. This option is only available when it comes to Cash on Delivery, which can be displayed along with selected shipping method.
Summary
Ever since the shipping zones were introduced in WooCommerce 2.6, configuration possibilities regarding shipping have become really convenient. Now, there are many options of differentiating the prices according to particular countries or groups of countries.
If these options prove insufficient, our own plugin is worth mentioning. Flexible Shipping is available in the WordPress.org plugin repository for free. It offers additional possibilities of differentiating prices based on cart weight and order totals. When you add this to the shipping zones, you have immense possibilities – absolutely sufficient for most stores to configure WooCommerce shipping in the most effective way.
That is it as far as shipping methods go. If something is not clear enough, please let us know in the comments.